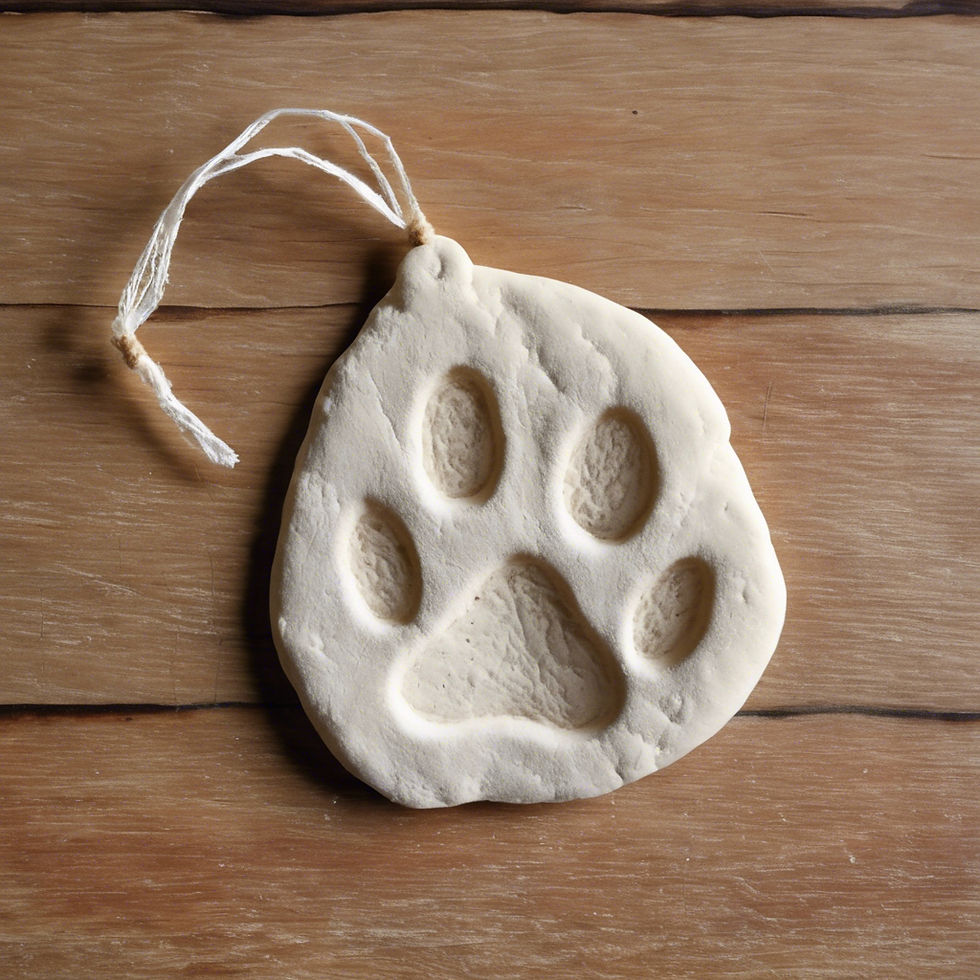
Salt dough ornaments are a simple and charming way to decorate your Christmas tree with a personal touch. They’re easy to make, affordable, and fun for the whole family. At The Denman Homestead, we love using these ornaments to create a cozy, handmade feel on the tree each year. Here’s our complete guide to making your own salt dough ornaments from scratch.

Ingredients and Supplies
For the Salt Dough:
- 2 cups all-purpose flour
- 1 cup salt
- 1 cup warm water
Additional Supplies:
- Rolling pin
- Cookie cutters in holiday shapes (like stars, trees, snowflakes, etc.)
- Straw or skewer (for creating hanging holes)
- Baking sheet and parchment paper
- Acrylic paint, markers, or glitter (for decorating)
- Clear varnish or Mod Podge (optional, for sealing)
- Ribbon or twine (for hanging)
Step 1: Make the Salt Dough
1. In a large mixing bowl, combine the flour and salt.
2. Gradually add warm water to the flour mixture, stirring as you go.
3. Knead the dough with your hands until it’s smooth and elastic, about 5-10 minutes. If the dough is too sticky, add a bit more flour; if it’s too dry, add a touch more water.
The Denman Homestead tip: Salt dough can dry out quickly, so keep it covered with a damp cloth when you’re not working with it.
Step 2: Roll Out the Dough and Cut Shapes
1. Preheat your oven to 200°F (93°C).
2. Lightly flour a clean work surface and roll out the dough to about 1/4-inch thick. Thicker ornaments will be sturdier, but they’ll also take longer to bake.
3. Use cookie cutters to cut out your desired shapes, pressing firmly to get clean edges.
4. Transfer each shape to a baking sheet lined with parchment paper.
The Denman Homestead tip: For a rustic look, use a butter knife or your hands to shape the dough freehand!
Step 3: Add Holes for Hanging
Using a straw or skewer, carefully make a small hole at the top of each ornament. This is where you’ll thread your ribbon or twine for hanging, so make sure it’s large enough. Try to make the hole about 1/4 inch from the edge to prevent breaking.
Step 4: Bake the Ornaments
Place the baking sheet in the preheated oven and bake for 2-3 hours, flipping the ornaments halfway through to ensure even drying. You’ll know they’re done when they’re completely hard and dry to the touch.
The Denman Homestead tip: If you want to speed up the drying process, bake at a slightly higher temperature (up to 250°F) and check frequently. For a fully air-dried option, leave them out for 2-3 days until hard.
Step 5: Cool and Decorate

Once the ornaments are baked and fully cooled, they’re ready for decorating! Here are a few ideas:
- Painting: Use acrylic paints to add color and designs. You can go simple with red and green or try more intricate patterns and details.
- Glitter: Add a little sparkle by applying a thin layer of Mod Podge and sprinkling glitter on top.
- Markers: Permanent markers work well for adding fine details, names, or messages.
- Natural Touches: Glue on small pine needles, berries, or other natural accents for a rustic, natural look.
The Denman Homestead tip: If you’re decorating with kids, let them get creative with their designs, even if it means adding plenty of glitter and bright colors.
Step 6: Seal the Ornaments (Optional)
To help your ornaments last for years, consider applying a sealant like Mod Podge or clear acrylic spray. This step is especially useful if you plan to store the ornaments or hang them in a humid environment.
Simply brush or spray the sealant over both sides of the ornaments and let dry completely.
Step 7: Add Ribbon and Hang
Once decorated and dried, thread a piece of ribbon or twine through each hole and tie a knot to create a loop for hanging. Now they’re ready for the tree!
Additional Ideas for Your Salt Dough Ornaments
1. Personalized Gifts: Add names or initials to each ornament and give them as holiday gifts.
2. Keepsake Handprints: Roll out a larger circle of dough and press a child’s handprint into the dough for a keepsake ornament.
3. Animal Paw Prints: If you have pets, gently press their paw into the dough to make a sweet holiday memento.
4. Natural Impressions: Press small pine branches, leaves, or holly into the dough to create beautiful, nature-inspired patterns.
Caring for Your Salt Dough Ornaments
Salt dough ornaments can last for years if they’re stored properly. Wrap each ornament in tissue paper and keep them in a dry, cool place to prevent cracking or moisture buildup.
Making salt dough ornaments is a festive, hands-on activity that adds a personal touch to your holiday décor. At The Denman Homestead, these handmade decorations have become a beloved Christmas tradition that brings warmth and nostalgia to our tree each year. We hope you enjoy creating your own ornaments and making memories with your family this holiday season.
Happy holidays from all of us at The Denman Homestead!
Comentários